Top food photography separates scroll-stopping images from forgettable snapshots. Whether someone shoots for a restaurant menu, a food blog, or social media, the same principles apply. Great food photos make viewers hungry. They tell a story. They sell.
The difference between amateur and professional food shots often comes down to a few key techniques. Lighting, styling, camera settings, and editing all play critical roles. Master these elements, and even smartphone shots can compete with studio-quality work.
This guide breaks down the essential skills every food photographer needs. From natural light setups to post-processing tricks, these tips will transform ordinary food photos into images that demand attention.
Table of Contents
ToggleKey Takeaways
- Top food photography relies on mastering natural light—position your setup near a large window and use diffusers to soften harsh sunlight.
- Side and back lighting create depth and texture, while front lighting flattens images and should be avoided.
- Use the rule of thirds and choose your shooting angle based on the dish—flat foods work best overhead, while tall foods shine at 45 degrees.
- Keep ISO low (100–400) and experiment with aperture between f/2.8 and f/5.6 to control depth of field in your food shots.
- Props and backgrounds should support the story without stealing attention—opt for simple surfaces and complementary colors.
- Edit with restraint to maintain realistic colors, and develop a consistent style to build a recognizable food photography brand.
Essential Lighting Techniques for Food Photography
Lighting makes or breaks food photography. It’s the single most important factor in creating appetizing images. Get it right, and food looks fresh, textured, and irresistible. Get it wrong, and even gourmet dishes look flat and unappetizing.
Natural Light Is Your Best Friend
Most professional food photographers prefer natural light. It’s free, flattering, and produces soft shadows that enhance food textures. Position your setup near a large window for the best results. North-facing windows work particularly well because they provide consistent, diffused light throughout the day.
Avoid direct sunlight. It creates harsh shadows and blown-out highlights. If sunlight streams through your window, hang a white sheet or use a diffuser to soften it.
Master Side and Back Lighting
Top food photography almost never uses front lighting. It flattens images and removes depth. Instead, position your light source to the side or behind your subject.
Side lighting creates dramatic shadows that emphasize texture. Think of the ridges on a grilled steak or the glaze on a donut. Back lighting adds a beautiful glow and works especially well for drinks, soups, and dishes with steam.
Use Reflectors to Fill Shadows
A simple white foam board can transform your photos. Place it opposite your light source to bounce light back onto your subject. This fills in harsh shadows without adding a second light source. Black foam boards do the opposite, they absorb light and deepen shadows for more dramatic shots.
Top food photography often requires balancing light and shadow. Experiment with reflector placement to find the perfect balance for each dish.
Styling and Composition Fundamentals
Great food styling turns a plate of food into a visual story. It’s part art, part science, and it requires attention to every element in the frame.
The Rule of Thirds Still Works
Place your main subject at one of the intersection points on a 3×3 grid. This creates visual interest and draws the eye naturally through the image. Most cameras and smartphones have a grid overlay option, use it.
But rules exist to be broken. Sometimes centered compositions work better, especially for symmetrical dishes like burgers or stacked pancakes.
Choose Your Angle Wisely
Different foods look best from different angles. Flat dishes like pizza and cookies shine when shot from directly above (90 degrees). Tall foods like burgers and layer cakes look better at 45 degrees or straight on.
Top food photography considers height and layers. A bowl of soup needs a lower angle to show depth. A charcuterie board benefits from an overhead shot to display arrangement.
Props and Backgrounds Matter
Props should support the story, not steal attention. Vintage utensils, linen napkins, and rustic wooden boards add context without overwhelming the food. Keep colors complementary but not matching.
Backgrounds should be simple. Marble slabs, weathered wood, and neutral-colored surfaces work well. Avoid busy patterns that compete with your subject.
Create Movement and Life
Static food photos feel lifeless. Add movement with a drizzle of sauce, a sprinkle of herbs, or a hand reaching into frame. These elements suggest the moment before eating, and that anticipation makes viewers hungry.
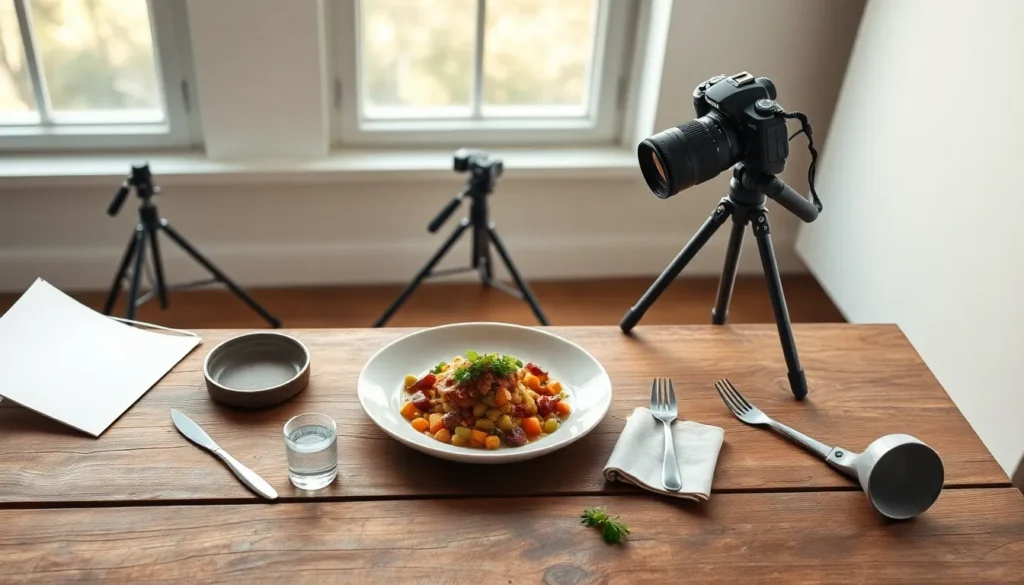
Choosing the Right Camera Settings and Equipment
You don’t need expensive gear to create top food photography. Understanding your equipment matters more than the price tag.
Aperture Controls Depth of Field
Aperture (f-stop) determines how much of your image stays in focus. A wide aperture like f/2.8 creates a shallow depth of field, perfect for isolating a single dish with a blurry background. A narrow aperture like f/8 or f/11 keeps more elements in focus, ideal for flat-lay shots.
Most food photographers work between f/2.8 and f/5.6 for close-up shots. Experiment to find what suits your style.
Keep ISO Low for Clean Images
ISO controls your camera’s sensitivity to light. Higher ISO means more grain (noise) in your photos. For food photography, keep ISO as low as possible, ideally between 100 and 400. This produces clean, sharp images.
If you need more light, add a reflector or move closer to your window rather than cranking up ISO.
Use a Tripod for Consistency
A tripod eliminates camera shake and allows slower shutter speeds in low light. It also frees your hands for styling adjustments and ensures consistent framing when shooting multiple angles of the same dish.
Lens Selection for Food Photography
A 50mm prime lens offers excellent image quality at an affordable price. For top food photography, many professionals prefer a 100mm macro lens, it captures fine details like sugar crystals and herb leaves while providing flattering compression.
Smartphone users shouldn’t feel left out. Modern phones produce impressive food photos. Just avoid digital zoom and use portrait mode for that professional-looking blur.
Editing and Post-Processing Best Practices
Editing completes the food photography process. Even perfectly shot images benefit from thoughtful post-processing.
Start with Basic Adjustments
Begin with exposure, contrast, and white balance. Food should look true to life, not oversaturated or artificially bright. Adjust highlights and shadows to recover detail in bright and dark areas.
White balance deserves special attention. Food photographed under warm tungsten lights looks orange. Cool it down in editing to restore natural colors.
Enhance Without Overdoing It
A common mistake in food photography editing is pushing adjustments too far. Oversaturated colors look fake. Heavy vignettes feel dated. Excessive sharpening creates harsh edges.
Aim for enhancements that viewers won’t consciously notice. The best editing is invisible.
Develop a Consistent Style
Top food photography accounts and portfolios share a consistent look. This doesn’t mean every photo looks identical, but they share common elements like color temperature, contrast levels, and mood.
Create presets in Lightroom or use consistent filters in mobile apps. This speeds up your workflow and builds a recognizable brand.
Remove Distractions
Use spot removal tools to eliminate crumbs, fingerprints, and other small imperfections. Clone out distracting background elements. These small fixes make big differences in final image quality.
Some photographers also adjust colors selectively, making greens more vibrant in salads or warming up bread tones. Use these tools sparingly for realistic results.