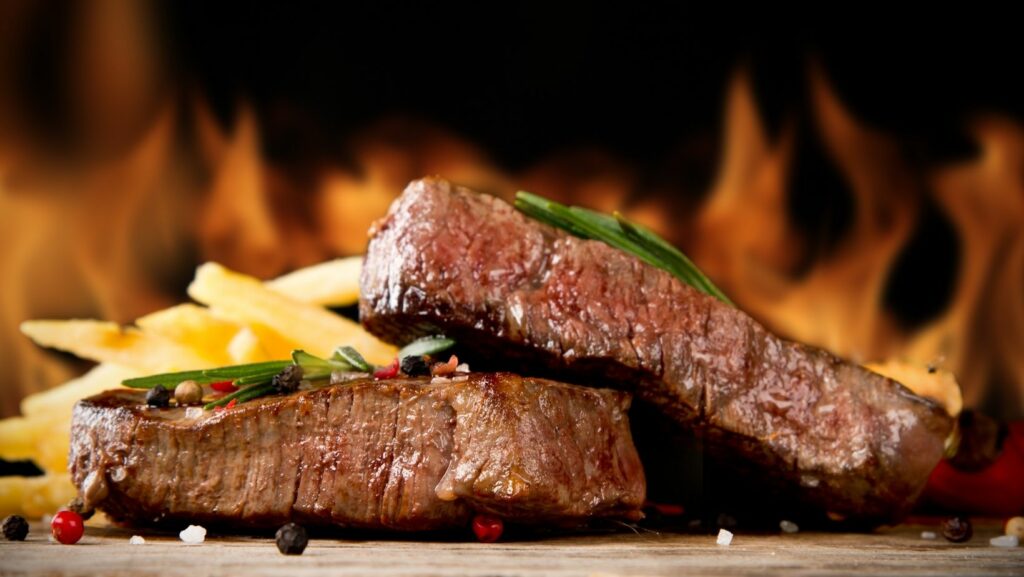
When it comes to capturing mouthwatering dishes, the right lighting can make all the difference. Imagine a perfectly plated pasta dish basking in warm, golden light versus a sad, shadowy plate that looks like it just lost a fight with a blender. Restaurant lighting isn’t just about ambiance; it’s the secret sauce for stunning food photography.
Mastering the art of lighting can turn a simple snapshot into a culinary masterpiece. Whether you’re a food blogger, a restaurant owner, or just someone who loves sharing their meals on social media, understanding how to work with restaurant lighting can elevate your photos from “meh” to “wow!” So grab your camera and let’s dive into the world of restaurant lighting that’ll have your followers drooling and your dishes shining brighter than a Michelin star.
Understanding Restaurant Lighting
Effective lighting plays a crucial role in restaurant photography. It shapes the mood, highlights food textures, and augments colors, making dishes more appealing.
Importance of Lighting in Photography
Lighting significantly impacts food presentation in photography. It influences how colors appear, showcasing vibrant dishes or softening harsh contrasts. Quality lighting enhances the depth of food, ensuring textures come alive. Great photos often result from utilizing natural light or thoughtful artificial sources. Proper lighting engages viewers, drawing them to experience flavors through images. Consistent lighting creates a recognizable aesthetic for brands, fostering trust and loyalty.
Types of Restaurant Lighting
Different lighting types cater to various dining experiences and photography needs. Ambient lighting provides general illumination, creating a warm atmosphere. Task lighting highlights specific areas, such as food displays or menus. Accent lighting, used to spotlight certain dishes, adds drama and focus in photos. Natural light streaming through windows often delivers a soft, flattering effect. Dimmed, warmer lights produce a cozy yet refined vibe, enhancing the dining experience. Understanding these types enables photographers to select the ideal conditions for capturing stunning images.
Natural Light vs. Artificial Light
Natural light and artificial light play distinct roles in food photography, each offering unique benefits. Understanding their differences helps photographers select the right option for capturing appealing food images.
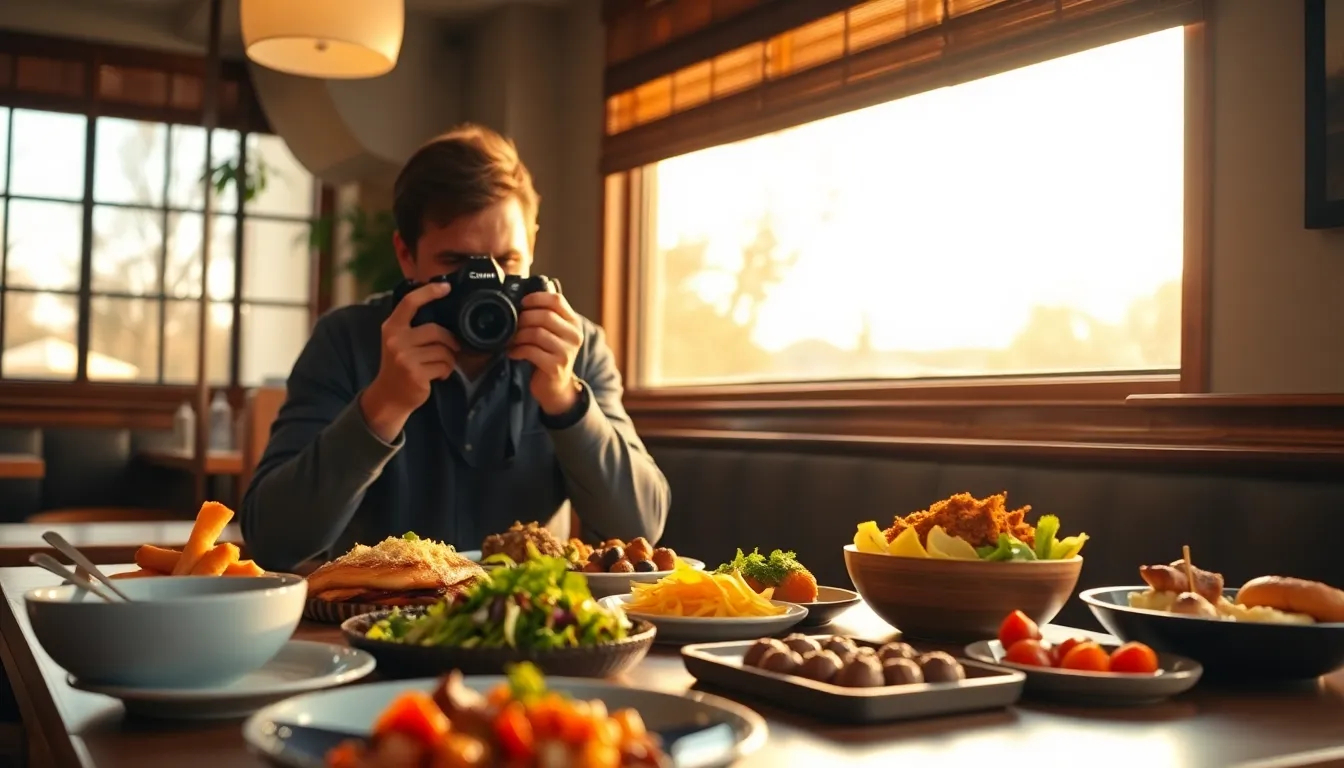
Benefits of Natural Light
Natural light enhances food photography by creating soft, diffused illumination. It boosts color vibrancy and highlights textures, resulting in visually engaging images. Natural light also delivers a warm aesthetic, evoking an inviting atmosphere. Photographers often find that shooting near windows or outdoors yields optimal results, especially during golden hour. This period, shortly after sunrise or before sunset, provides flattering light quality and minimizes harsh shadows. Additionally, using natural light connects dishes to their environment, making photos feel more organic and authentic.
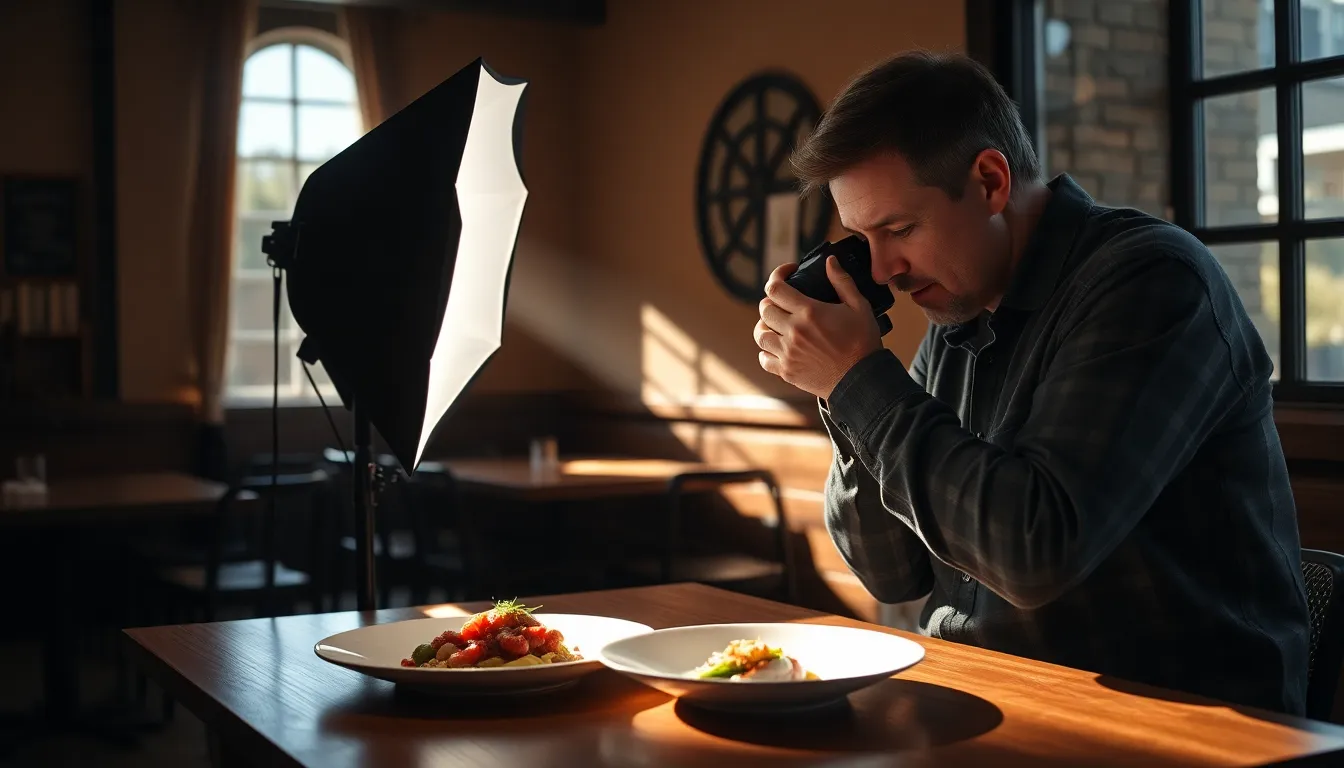
Advantages of Artificial Lighting
Artificial lighting offers flexibility for photographers in various settings. It permits consistent control over brightness and shadows, ensuring reliability regardless of the time of day. Properly executed artificial lighting can mimic natural light, allowing for creative experimentation. Photographers utilize techniques such as softboxes and ring lights to achieve soft, even illumination. These tools help prioritize texture visibility and color saturation. By adjusting the intensity and direction of lights, individuals can create dramatic effects or maintain a subtle look. Reliable and customizable, artificial lighting enables photographers to work effectively in dimly lit restaurants.
Tips for Capturing Stunning Restaurant Photos
Capturing beautiful images in a restaurant relies heavily on effective lighting strategies. Photographers can enhance their food photos by focusing on positioning, angles, and camera settings.
Positioning and Angles
Positioning the camera effectively makes a significant difference in how food appears. Choose angles that showcase the dish’s best features, whether it’s a top-down shot or a 45-degree angle. Getting close to the subject highlights textures and details, drawing viewers’ attention. Experiment with different perspectives to find unique compositions. In dimly lit spaces, consider moving the dish closer to the light source, which can accentuate colors and textures, making the food look more inviting. Use the surrounding environment creatively as a backdrop to add context and depth to the photos.
Settings and Adjustments
Adjusting camera settings plays a crucial role in capturing stunning images. Set a wider aperture to allow more light into the lens, which creates that desired blurred background effect sometimes called bokeh. Increase the ISO in low-light settings, but avoid excessively high values, as this can introduce unwanted noise. Utilize manual focus for more control over sharpness, especially in intricate dishes with various textures. Composition can also improve by slightly adjusting exposure levels to account for ambient light variations. Consistently fine-tune these settings based on the overall lighting to achieve optimal results and keep the food looking fresh and appetizing.
Common Lighting Challenges
Photographers often face several lighting challenges in restaurant settings. Understanding these issues ensures better food photography outcomes.
Low-Light Conditions
Low-light conditions frequently occur during dinner hours. These environments often present difficulties for capturing vibrant colors and textures. Positioning dishes close to available light sources, like candles or ambient lighting, can enhance clarity. Increasing the camera’s ISO setting may also help improve exposure. Using a wider aperture allows more light to enter the lens, producing sharper images in dim spaces. Incorporating portable LED lights provides additional brightness, reducing shadows and enhancing detail. Utilizing stable surfaces or tripods counteracts blurriness that can arise from lower light levels.
Overexposed Highlights
Overexposed highlights can ruin a perfectly styled dish. Bright lights, especially directly above, create harsh reflections that wash out details. Adjusting camera settings, such as reducing exposure compensation, helps manage bright spots. Utilizing reflectors redirects light, filling in shadows without overwhelming brightness. Choosing the right time for photography is crucial; natural light during softer hours minimizes overexposure. Positioning dishes away from direct light sources assists in maintaining balance in images. Employing photo editing tools post-shoot allows for final adjustments to recover details in overexposed areas.