The best food photography makes viewers want to reach through the screen and grab a bite. It transforms ordinary dishes into visual stories that trigger cravings and capture attention. Whether someone shoots for a restaurant menu, a food blog, or social media, mastering food photography requires specific skills and techniques. This guide covers the essential elements: lighting, styling, camera settings, and editing. Each section delivers practical advice photographers can apply immediately to create images that stand out in crowded feeds and portfolios.
Table of Contents
ToggleKey Takeaways
- The best food photography relies on natural light from a large window with indirect sunlight to create soft, appetizing shadows and highlights.
- Use the rule of thirds and place your main dish at grid intersection points for more visually compelling compositions.
- Match your camera angle to the dish—overhead for flat foods like pizza, 45-degree for layered dishes, and straight-on for tall items like burgers.
- Shoot in RAW format with low ISO (100-400) and apertures between f/2.8 and f/5.6 for professional-quality images with beautiful depth of field.
- Add movement through pouring sauces, sprinkling garnishes, or capturing steam to bring food photos to life.
- Develop a consistent editing style and save presets to create a recognizable visual signature across your portfolio.
Essential Lighting Techniques for Food Photography
Light makes or breaks the best food photography. Natural light remains the top choice for most food photographers because it creates soft, appetizing shadows and highlights.
Working with Natural Light
Position the food near a large window with indirect sunlight. Direct sun creates harsh shadows and hot spots that distract from the dish. A north-facing window provides consistent, diffused light throughout the day.
Shoot during the golden hours, early morning or late afternoon, for warm tones that enhance baked goods and hearty meals. Midday light works better for fresh salads, seafood, and lighter dishes.
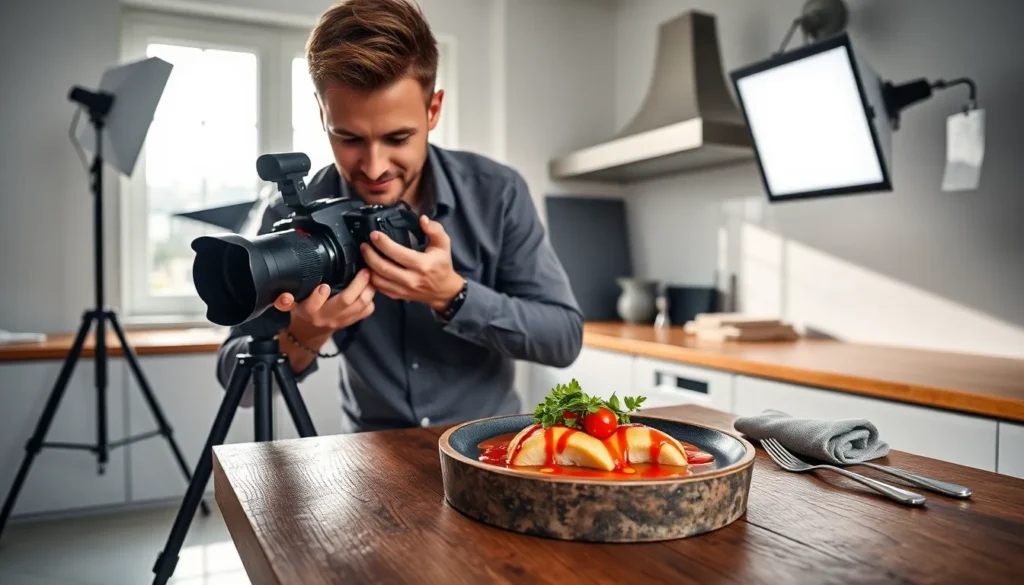
Using Artificial Light
When natural light isn’t available, continuous LED panels or softboxes serve as reliable alternatives. Place the main light source at a 45-degree angle to the food. This angle creates depth and texture in the image.
Avoid overhead fluorescent lights. They cast unflattering green tones and flatten the appearance of food. A simple reflector (even white foam board works) bounces light back onto shadowed areas and balances exposure.
Backlighting for Drama
Backlighting, placing the light source behind the food, creates a glow effect that works especially well for beverages, soups, and dishes with steam. This technique adds mood and draws the eye to translucent elements like drinks, sauces, or thin-sliced ingredients.
The best food photography uses light intentionally. Photographers should experiment with different angles and intensities until the food looks its most appetizing.
Styling and Composition Fundamentals
Great lighting means nothing without proper styling and composition. The best food photography balances visual elements to guide the viewer’s eye and create emotional impact.
The Rule of Thirds
Divide the frame into a 3×3 grid. Place the main dish at one of the intersection points rather than dead center. This creates visual tension and interest. Most camera apps and viewfinders offer a grid overlay to help with placement.
Props and Backgrounds
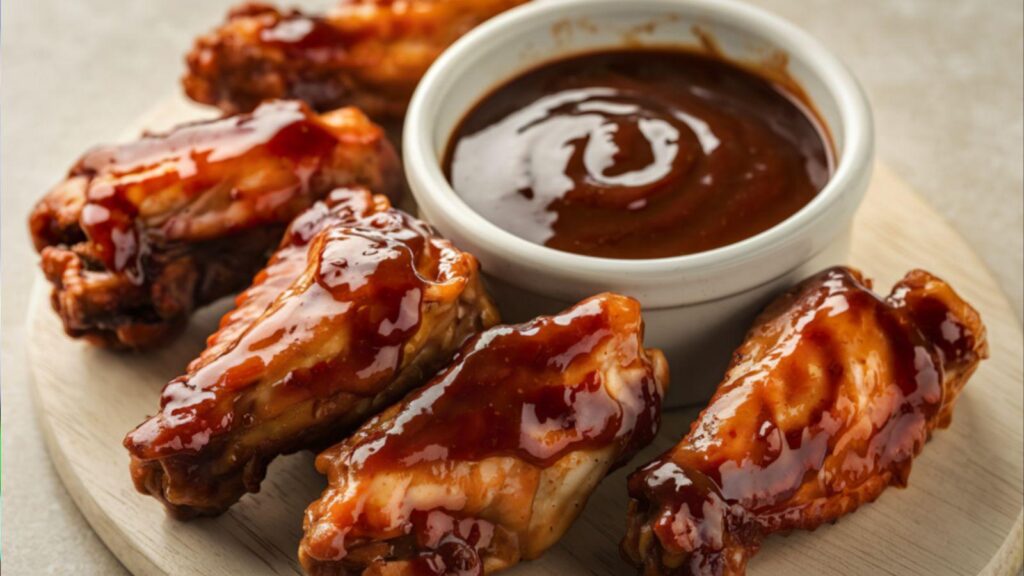
Choose props that complement the food without competing for attention. Rustic wooden boards suit comfort food. Clean white plates highlight colorful dishes. Linen napkins, vintage silverware, and fresh herbs add context and texture.
Keep backgrounds simple. Neutral colors, gray, white, dark wood, marble, let the food remain the star. Busy patterns distract viewers and reduce the image’s professional quality.
Angles That Work
Three angles dominate the best food photography:
- Overhead (90 degrees): Perfect for flat dishes like pizza, salads, and arranged platters
- 45-degree angle: The most versatile option that shows depth and layers
- Straight-on: Ideal for burgers, stacked pancakes, and tall drinks
Match the angle to the dish’s strongest visual feature. Layered cakes look best from the side. Grain bowls shine from above.
Creating Movement
Static food photos feel lifeless. Add movement through pouring sauces, sprinkling garnishes, or capturing steam rising from hot dishes. A hand reaching into frame with a fork creates action and human connection.
Choosing the Right Camera Settings and Equipment
The best food photography doesn’t require expensive gear, but understanding camera settings makes a significant difference in image quality.
Camera Options
DSLRs and mirrorless cameras offer the most control. Full-frame sensors capture more light and produce sharper images in low-light conditions. But, modern smartphones with portrait modes and manual controls can produce professional-looking results for social media use.
Lens Selection
A 50mm prime lens works well for most food shots. It creates natural perspective without distortion. For tighter compositions and detail shots, an 85mm or 100mm macro lens captures textures like the crispy edges of a cookie or the glaze on a doughnut.
Wide-angle lenses (35mm or wider) suit overhead shots of large table spreads but can distort dishes at the frame’s edges.
Optimal Settings
For the best food photography results, start with these settings:
- Aperture: f/2.8 to f/5.6 for shallow depth of field: f/8 to f/11 for sharper overall focus
- ISO: Keep as low as possible (100-400) to minimize grain
- Shutter speed: Use a tripod for anything slower than 1/60 to prevent blur
Shoot in RAW format rather than JPEG. RAW files retain more data for editing and allow greater flexibility in post-processing.
Essential Accessories
A sturdy tripod prevents camera shake and frees both hands for styling adjustments. Remote shutters eliminate vibration from pressing the button. Diffusion panels soften harsh light, and reflectors fill shadows.
Editing Tips to Enhance Your Food Photos
Post-processing transforms good shots into the best food photography. Editing software like Adobe Lightroom, Capture One, or mobile apps like Snapseed provides powerful tools for enhancement.
Basic Adjustments
Start with exposure and white balance. Food should look true to life, not yellow, blue, or artificially saturated. Slightly warming the image often makes food appear more appetizing.
Increase contrast modestly to add depth. Lift shadows to reveal detail in darker areas, but don’t overdo it. Crushed blacks create moodier, editorial-style images.
Color Correction
Use the HSL (Hue, Saturation, Luminance) panel to fine-tune specific colors. Boost orange and yellow saturation slightly for baked goods. Increase green vibrance for salads and vegetable dishes. Reduce blue saturation in shadows to prevent food from looking cold.
Sharpening and Detail
Apply sharpening selectively to areas with texture, bread crusts, herb garnishes, meat surfaces. Over-sharpening creates an artificial look that undermines the best food photography efforts. Use masking tools to prevent sharpening in smooth areas like sauces or beverages.
Cropping for Impact
Crop images to strengthen composition. Remove distracting elements at the frame’s edges. Maintain aspect ratios appropriate for the intended platform, square for Instagram feeds, 4:5 for Instagram posts, 16:9 for website headers.
Consistency in Style
Develop a consistent editing style across a portfolio or feed. Create and save presets that establish a signature look. The best food photography accounts maintain visual coherence that makes their work instantly recognizable.