Great food photography ideas can transform ordinary dishes into scroll-stopping images. Whether someone shoots for a restaurant menu, food blog, or social media feed, the right techniques make all the difference. Food photography combines technical skill with artistic vision. It rewards those who understand light, composition, and storytelling.
This guide covers practical food photography ideas that photographers at any level can apply immediately. From lighting setups to creative angles, these strategies help capture dishes in their most appetizing form. The best part? Many of these techniques require minimal equipment and maximum creativity.
Table of Contents
ToggleKey Takeaways
- Natural light near a large window creates professional-looking food photography with soft shadows and inviting depth.
- Choose backgrounds and props that complement the dish—wooden boards for rustic warmth, marble for elegance, and dark surfaces to make colorful ingredients pop.
- Match your shooting angle to the food: overhead for flat dishes like pizzas, 45-degree for layered items like burgers, and straight-on for tall stacked foods.
- Add energy to your food photography ideas by capturing action shots like pouring syrup, falling toppings, or rising steam with a fast shutter speed.
- Apply the rule of thirds and use odd-numbered groupings to create visually balanced, eye-catching compositions.
- Include hands, raw ingredients, or finishing garnishes to tell a story and make viewers crave the dish.
Master Natural Lighting Techniques
Natural light remains the gold standard for food photography ideas that produce professional results. Soft, diffused daylight flatters most dishes and creates a fresh, inviting mood.
Position the food near a large window for the best results. Side lighting creates depth and dimension by casting gentle shadows across the plate. This setup highlights texture in foods like crusty bread, leafy salads, or grilled proteins.
Backlighting works beautifully for drinks, soups, and translucent ingredients. Place the light source behind the subject to create a glowing effect. Steam from hot beverages becomes visible and adds atmosphere to the shot.
Avoid harsh midday sun, which creates unflattering shadows and washes out colors. Cloudy days offer ideal conditions, the clouds act as a natural diffuser. When direct sunlight is unavoidable, hang a white sheet or use a diffuser panel to soften the light.
Golden hour provides warm, directional light that adds richness to food images. Shoot during the hour after sunrise or before sunset for this effect. The warm tones complement baked goods, comfort foods, and autumn-themed dishes particularly well.
Reflectors bounce light back onto shadowed areas. A simple piece of white foam board costs almost nothing and fills in dark spots effectively. Place it opposite the light source to balance the exposure across the frame.
Experiment With Props and Backgrounds
Props and backgrounds tell the story behind the food. Thoughtful selection of these elements elevates food photography ideas from simple snapshots to compelling images.
Start with backgrounds that complement rather than compete with the dish. Wooden boards add rustic warmth. Marble surfaces suggest elegance. Dark backgrounds make colorful ingredients pop, while light backgrounds create an airy, clean aesthetic.
Textiles add interest and context. Linen napkins, checkered cloths, and burlap provide texture without overwhelming the frame. Wrinkle them slightly for a natural, lived-in look.
Utensils and serving ware should match the food’s style. Vintage silverware suits home-cooked meals. Modern, minimalist plates work for contemporary cuisine. The wrong pairing feels jarring, plastic cutlery next to fine dining doesn’t make sense.
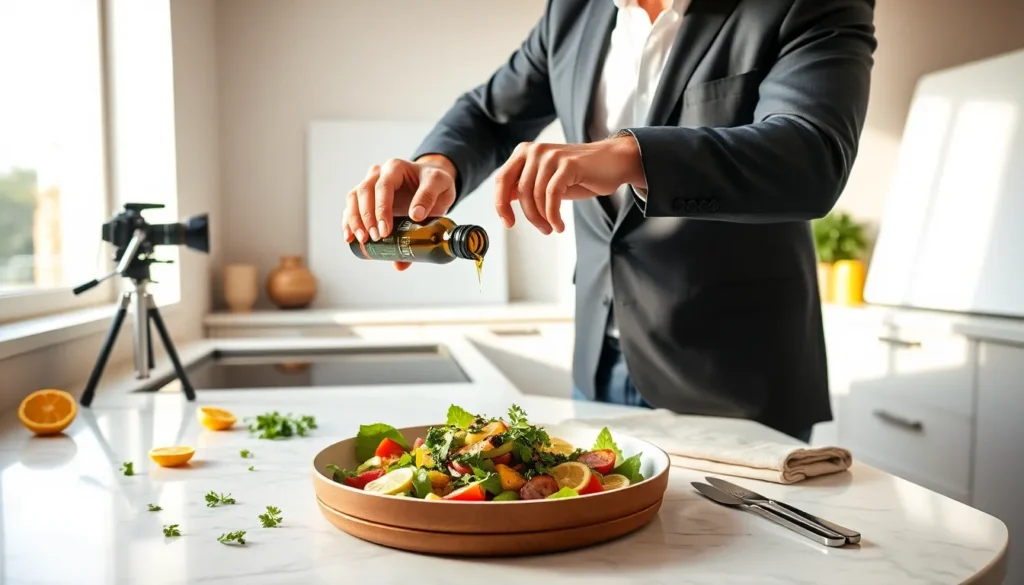
Incorporate raw ingredients as props. Scatter fresh herbs around a pasta dish. Place whole lemons near a slice of lemon tart. These elements reinforce the story and add color to the composition.
Keep props proportional to the food. Oversized elements dwarf the subject and shift attention away from the dish. The food should always remain the star of every food photography setup.
Play With Angles and Perspectives
The shooting angle dramatically changes how viewers perceive a dish. Different food photography ideas suit different types of food, and angle selection matters more than most beginners realize.
The overhead shot (also called flat lay) works perfectly for flat dishes like pizzas, salads, and beautifully arranged plates. This angle showcases patterns, colors, and the full composition. It’s become iconic on social media for good reason.
The 45-degree angle mimics how people naturally view food at a table. This perspective shows both the top and front of the dish. It works well for layered foods like burgers, cakes, and sandwiches where height matters.
Straight-on shots at eye level emphasize stacked or tall foods. Think towering pancakes, dripping ice cream cones, or multi-layered drinks. This angle captures drama and scale that other perspectives miss.
Low angles looking upward create a sense of grandeur. They make dishes appear larger and more impressive. Use this approach for hero shots in advertising or menu photography.
Don’t commit to just one angle per session. Move around the dish and capture multiple perspectives. The best shot often comes from an unexpected position. Food photography rewards experimentation.
Capture Action and Movement
Static images have their place, but action shots bring energy to food photography ideas. Movement creates urgency and makes viewers feel hungry.
Pour shots capture liquid in motion. Syrup drizzling over pancakes, cream swirling into coffee, or sauce cascading over a dessert, these moments create dynamic images. Use a fast shutter speed (1/500 or higher) to freeze the action clearly.
Sprinkles and toppings falling onto food add playfulness. Drop ingredients from just above the frame and shoot in burst mode. Some attempts will fail, but the successful shots look spectacular.
Steam rising from hot food signals freshness and temperature. To capture it, use backlighting against a dark background. The steam becomes visible and adds atmosphere. Work quickly, hot food cools fast.
Hands in the frame add human connection. Someone reaching for a cookie, breaking bread, or lifting a fork tells a story. Partial hands work best: the focus stays on the food while suggesting human interaction.
Cutting or slicing food mid-frame reveals the interior. A knife through a perfectly baked pie or fingers pulling apart fresh bread shows texture and composition. These action food photography moments make viewers want to taste the dish.
Style Your Compositions Thoughtfully
Food styling separates amateur snapshots from professional food photography. A few techniques make dishes look their absolute best.
Apply the rule of thirds for balanced compositions. Place the main dish at an intersection point rather than dead center. This arrangement creates visual interest and draws the eye naturally.
Create depth by including foreground, middle ground, and background elements. A blurred herb sprig in front, the focused main dish in the middle, and soft props behind gives the image dimension.
Use odd numbers when grouping items. Three cookies look better than four. Five strawberries create more visual interest than six. This principle from design theory applies directly to food photography ideas.
Negative space gives the eye a place to rest. Not every inch of the frame needs filling. Empty areas around the subject can make the composition feel sophisticated and intentional.
Color theory guides strong food photography. Complementary colors (red and green, orange and blue) create vibrant contrast. Analogous colors (shades that sit next to each other on the color wheel) produce harmonious, cohesive images.
Fresh herbs, citrus slices, and scattered spices act as finishing touches. They add pops of color and suggest flavor. Apply these garnishes with intention, random placement looks messy rather than artistic.